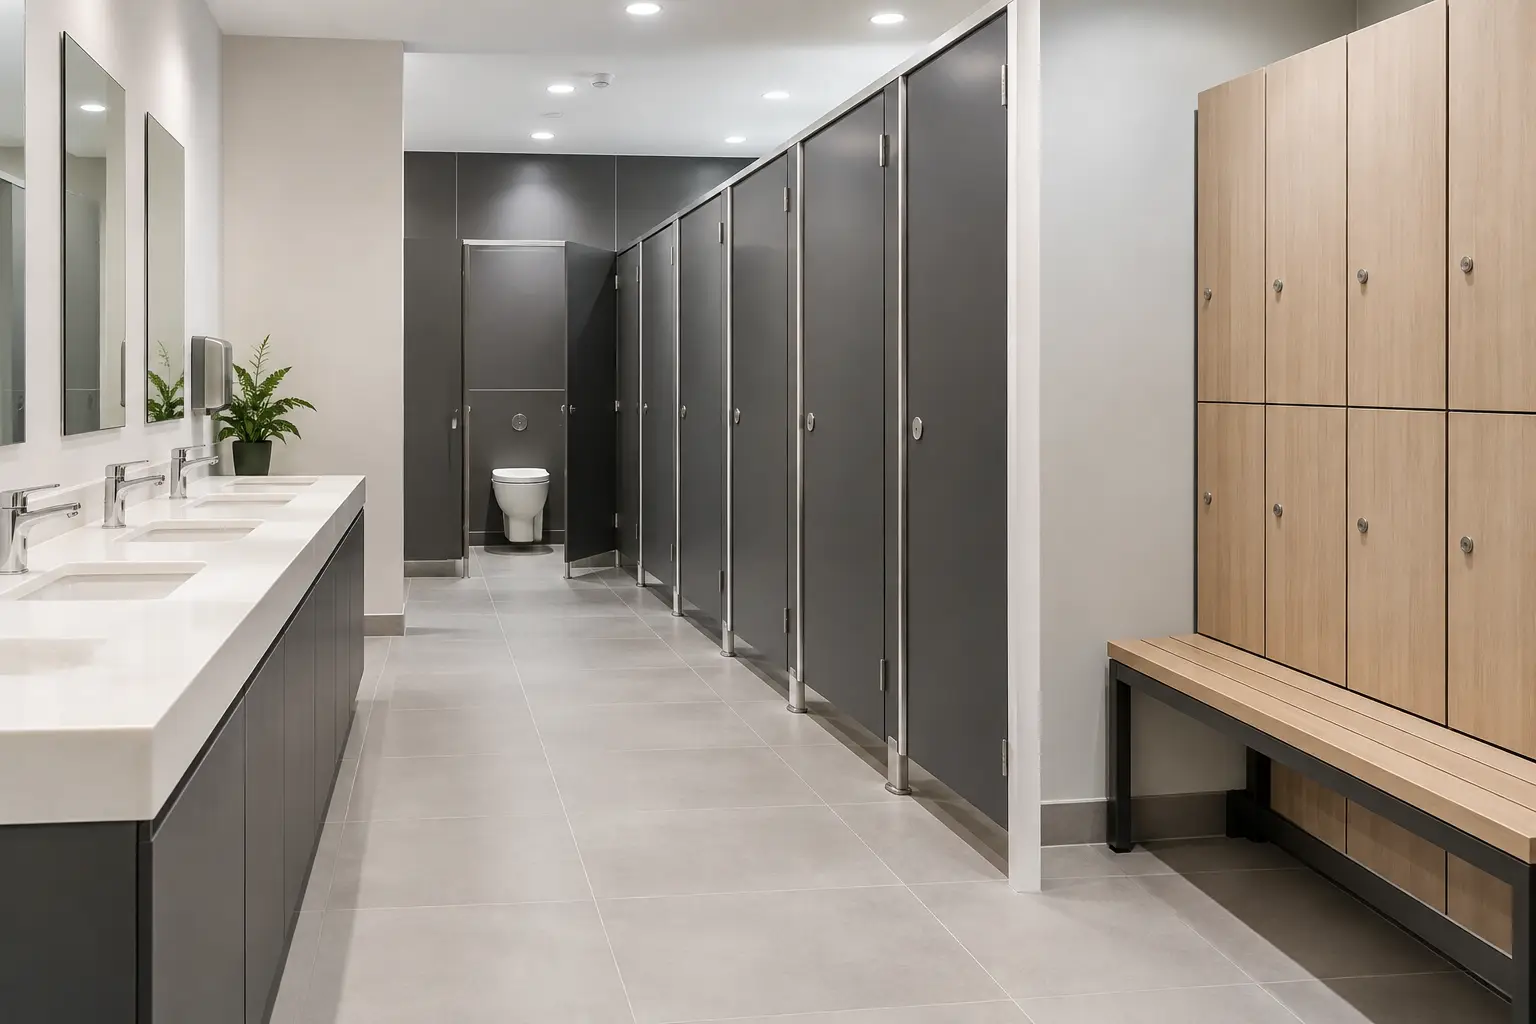
A washroom programme can look straightforward on a drawing, yet poor coordination between trades quickly turns it into a source of lost time, damaged finishes and avoidable variations. Knowing how to sequence washroom installations gives contractors and specifiers a practical way to protect the programme, particularly where toilet cubicles, IPS panelling, vanity units, wall cladding and accessibility provisions must work together.
The right order depends on the building type, the condition of the existing space and the interfaces with M&E works. A new-build school washroom will not follow exactly the same route as a fast-track office refurbishment. However, the principle remains consistent: complete and verify the hidden work before installing the visible, made-to-measure elements.
How to sequence washroom installations on a commercial project
Begin with a coordinated survey and a confirmed specification, then move through first fix, substrate preparation, finishes, second fix and final commissioning. Products should not be released for manufacture from outdated site dimensions or an uncoordinated services drawing. This is especially relevant on refurbishment projects, where walls, floor levels and pipe positions may differ from the original information.
A clear sequence also helps identify who owns each interface. The dryliner, plumber, electrician, flooring contractor, joiner and cubicle installer may all need access to the same small room at different stages. Agreeing that order before work begins is often more valuable than trying to recover time once the room is full of completed finishes.
1. Survey the space and freeze the design information
Carry out a full site survey before final manufacture. Record finished floor level, ceiling height, wall construction, door swings, window reveals, duct positions and all service penetrations. Check corners for square, as a few millimetres of variation can affect panel scribing, end panels and the fit of full-height systems.
At this stage, confirm the cubicle layout, IPS access requirements, basin positions, hand dryer zones, mirrors, dispensers and waste bins. Accessibility requirements must be considered as part of the arrangement rather than added at the end. Clear transfer space, door opening, alarm provision and suitable grab rail backing all need to be designed into the room from the outset.
For larger or more complex schemes, coordinated 3D CAD drawings can reduce uncertainty before materials are ordered. They are particularly useful where full-height cubicles meet suspended ceilings, where vanity units run into boxed-out services, or where several washroom types are repeated across a site.
2. Complete first-fix services before closing walls
Once setting-out information is agreed, first-fix plumbing, drainage, ventilation and electrical work can proceed. Soil pipes, hot and cold feeds, ductwork, extractor routes, containment and cabling should be positioned to match the approved layout, not simply placed where access is easiest.
This is the point to establish the service zones behind IPS panels. Frames, access panels and removable sections must allow future maintenance of valves, cisterns, pipework and electrical components. If a serviceable item is concealed without suitable access, the cost of a minor repair can become disproportionate.
Where wall-mounted sanitaryware, grab rails or heavy accessories are specified, install adequate structural backing before boarding. Do not rely on a finished decorative panel to provide support. In high-use education, leisure and public-sector washrooms, this detail has a direct bearing on durability and maintenance.
3. Build, line and prepare the room accurately
Partitions, boxing and wall linings should be complete before final measurements are checked. Substrates must be sound, dry and suitably flat for the chosen finish. Wall cladding can be a practical choice in wet or hard-working spaces, but it still relies on correct preparation and careful detailing around corners, sanitaryware and penetrations.
Floor preparation is equally important. Confirm falls to drainage where applicable, the finished floor build-up and transitions at door thresholds. A late change to floor finish thickness can affect cubicle clearances, door gaps and the level of pre-drilled fixing points.
Avoid bringing finished cubicle panels to site while wet trades are still underway. Plaster, screed, paint and adhesive moisture can delay fitting and expose panels to unnecessary risk. A dry, secure storage area should be available before delivery, particularly when multiple washrooms are being fitted in phases.
4. Fit wall and floor finishes before cubicles
In most commercial washrooms, wall finishes and flooring should be completed before toilet cubicles, IPS systems and vanity units are installed. This approach produces cleaner edges and allows flooring and cladding to continue behind or beneath components where required. It also makes future replacement less complicated.
There are exceptions. Some detailing methods and particular flooring systems may require a different approach, so the installation guidance for the selected materials should always take precedence. The key is to decide this early, with the flooring, washroom and M&E contractors working from the same detail.
Once finishes are complete, protect them from follow-on trades. Heavy equipment, unsecured ladders and poorly managed materials deliveries can easily damage newly laid vinyl, tiles or wall panels. A controlled handover between trades is preferable to assuming that completed areas will remain untouched.
5. Install IPS panels, vanity units and cubicle systems
With services tested and finishes complete, install IPS panelling and access systems first where they form the backdrop to sanitaryware. Check levels, plumb lines and access openings before fitting toilet pans, urinals or concealed cistern components. Panels should align cleanly with adjacent walls and leave access points functional, not merely present.
Vanity units can then be fitted to the agreed height and line, allowing basins, taps, wastes and splashbacks to be connected accurately. On long runs, verify wall levels before fixing. A vanity that is forced to follow an uneven wall may create visible gaps or cause basin alignment problems later.
Toilet cubicles and changing cubicles should be installed after the surrounding structure is stable and the floor finish is protected. Set out carefully from a reliable datum, rather than assuming an existing wall is straight. Check door operation, privacy gaps, pilaster alignment, headrail positions and fixing security as the work progresses.
Material selection should reflect the environment. Compact laminate is often well suited to wet, high-traffic or vandalism-prone areas, while MFC-based systems can offer a cost-effective option for lower-moisture office environments. The correct choice depends on cleaning regimes, anticipated use, budget and design intent – not just initial purchase price.
6. Complete second fix and test every interface
After the main washroom systems are in place, complete sanitaryware connections, taps, flush plates, hand dryers, lighting, mirrors, dispensers and signage. Second fix should be coordinated so that accessories do not obstruct access panels, cubicle doors or accessible turning spaces.
Test water supply, drainage, flushing, extraction, electrics and sensor-operated products before the final clean. Look for leaks, slow drainage, loose fittings and clashes between doors and accessories. It is far quicker to correct a dispenser position before handover than after a building is occupied.
This is also the time to inspect the quality of sealing around sanitaryware, vanity units and wall finishes. In shower or changing areas, pay particular attention to joints and penetrations that could allow water behind the finished surface.
7. Protect, inspect and hand over the completed washroom
A completed washroom is not automatically ready for practical completion. Carry out a joint inspection against the drawings and specification, checking panel condition, ironmongery, colour consistency, access panel operation and the overall cleanliness of the room. Record any snagging clearly and assign responsibility for rectification.
Protect finished areas until handover, especially on projects where other trades remain active. Temporary protection is inexpensive compared with replacing damaged doors, panels or worktops. The facilities team should also receive relevant maintenance information, cleaning guidance and details of any replaceable parts.
For time-sensitive commercial projects, early engagement with the washroom manufacturer can make this sequence easier to manage. Total Cubicles combines UK quality manufacturing with consultation and CAD support, helping project teams confirm product suitability and dimensions before site pressures take over.
A well-sequenced washroom installation is not about adding unnecessary stages. It is about making each trade’s work accessible, testable and protected before the next one begins. That discipline delivers a cleaner finish, fewer site fixes and a washroom that remains practical to maintain long after handover.