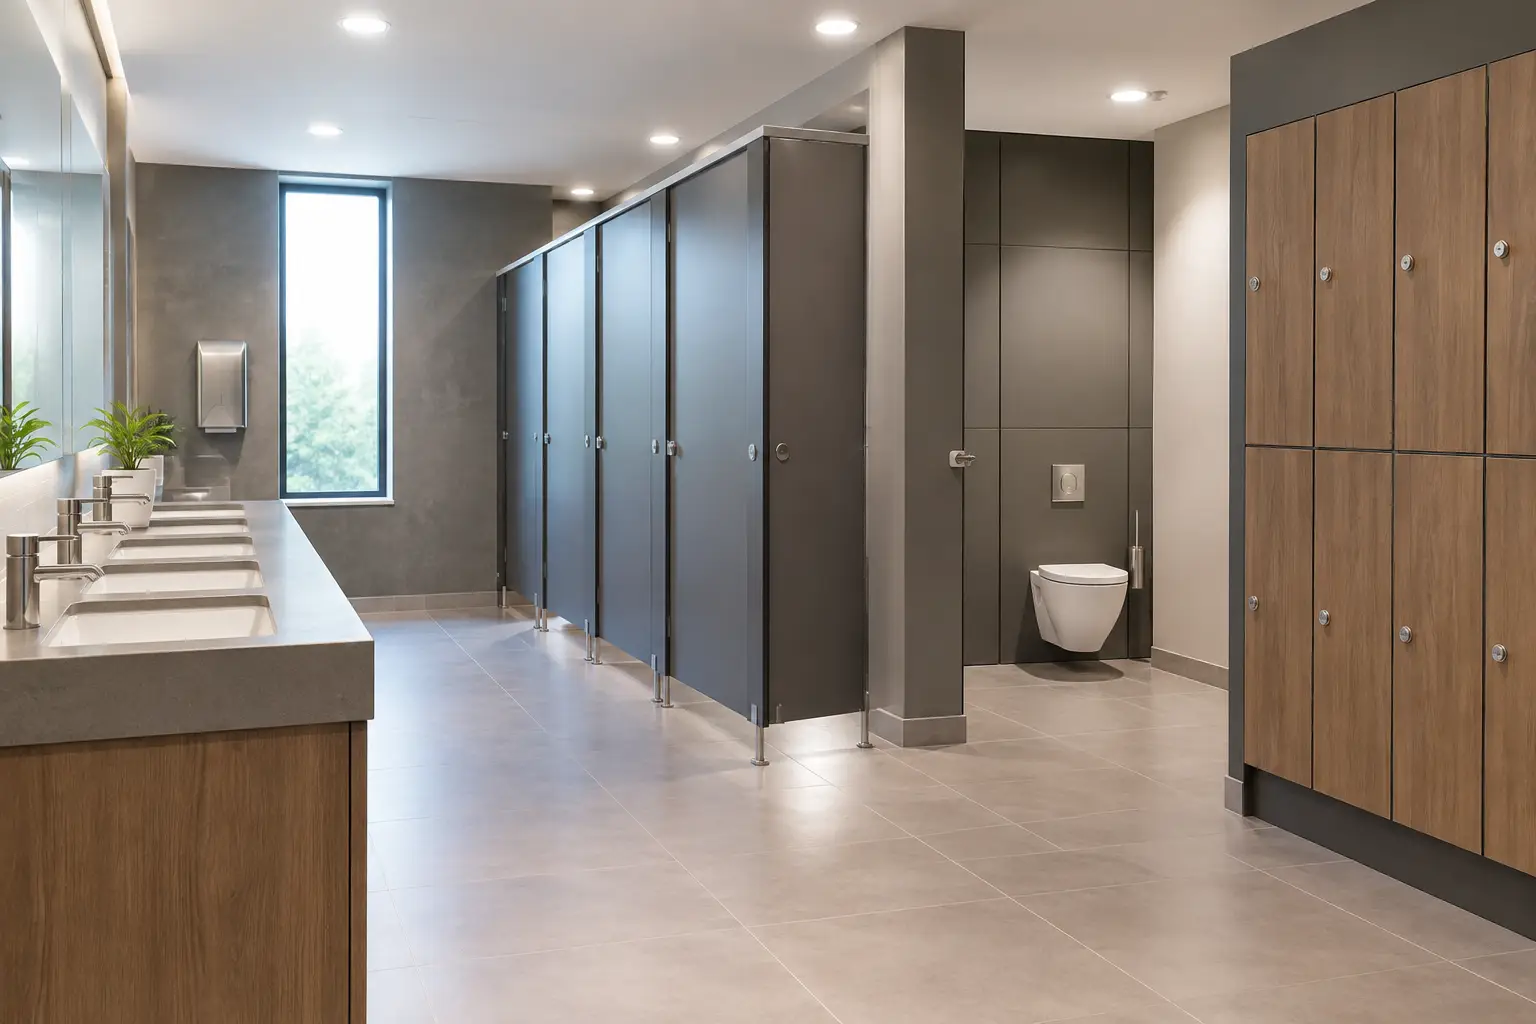
A public washroom is often one of the hardest-working spaces in a building, yet it is commonly left until late in the fit-out programme. A well-planned public toilet design guide puts the right decisions first: user access, traffic flow, cleaning requirements, material performance and installation practicality. Get those foundations right and the finished washroom will be safer, easier to maintain and better able to withstand daily use.
For schools, offices, leisure centres, healthcare buildings and public venues, the best design is rarely the most elaborate. It is the one that suits the users, the environment and the maintenance regime, while allowing contractors to install coordinated products without avoidable delays.
Start the public toilet design guide with the brief
Before selecting cubicle colours or vanity finishes, establish who will use the space and how intensively. A staff washroom in a small office has different priorities from a school toilet block at break time, or a changing village facility exposed to wet clothing, mud and high seasonal footfall.
The brief should define expected occupancy, peak periods, cleaning frequency, safeguarding needs, wet-area exposure and the available service routes. It should also confirm whether the project is a refurbishment or new build. Refurbishments may be constrained by existing drainage positions, structural openings and ceiling heights. New-build projects offer more freedom, but decisions on drainage falls, ventilation and accessible routes still need to be made early.
It is also worth agreeing responsibility for each interface. Cubicles, IPS duct panels, sanitaryware, flooring, wall cladding, lighting, extraction and access-control hardware must work together. Gaps between trades are a frequent source of delays and compromised finishes.
Plan circulation before fitting more cubicles
Capacity matters, but maximising the number of cubicles is not always the right answer. A cramped layout can create queues, obstruct cleaning trolleys and make accessible use difficult. Allow clear routes from the entrance to cubicles, basins, hand dryers and any accessible facilities, with door swings considered from the outset.
Entrance design deserves particular attention. A lobby arrangement can improve privacy and reduce direct sightlines into the washroom, but it needs enough space for people to pass comfortably. In busy venues, separate entry and exit routes may improve flow where the footprint permits. In smaller schemes, a simple, well-lit entrance with durable finishes can be more practical.
Position washbasins where users naturally encounter them on leaving the cubicle area. This encourages handwashing and avoids people crossing paths unnecessarily. Avoid placing hand dryers where they create a bottleneck or blow water across a main route. In facilities where noise is a concern, such as schools or healthcare settings, the location and type of drying provision should be assessed as part of the overall user experience.
Design for privacy, dignity and supervision
Privacy is a basic requirement, particularly in education, leisure and public buildings. Full-height or near full-height cubicle systems can offer increased privacy, although they may affect ventilation, cleaning access and the visual openness sought in some environments. Standard-height systems can be appropriate where oversight and airflow are priorities.
The right balance depends on the setting. In schools, sightlines around entrances and a layout that discourages concealed areas can support safeguarding, while cubicles still need secure doors, dependable locks and adequate personal space. In public venues, robust partitions and doors that resist misuse may take precedence. Specify hardware suited to the anticipated level of use rather than relying on a domestic-grade solution.
Build accessibility into the layout, not around it
Accessible provision should be considered at the beginning of the design process, not added after the main washroom has been arranged. This affects room size, circulation, door operation, sanitaryware positions, alarm provision and the relationship to the rest of the building.
For projects in England, Approved Document M is a key reference point. Relevant British Standards and local project requirements may also apply, while regulations and guidance differ across the UK. The design team should confirm the current requirements for the building location, use and procurement route before finalising drawings.
An accessible WC generally requires more than a wider cubicle. It needs suitable transfer space, correctly positioned grab rails and sanitary fittings, a door that can be operated safely, and an emergency assistance alarm arranged so that help can be called if a user falls. These details should be checked on coordinated drawings and again before handover. A technically compliant room can still fail users if a bin, dispenser or baby-change unit obstructs the transfer zone.
Where the building serves varied users, consider whether additional provision is needed. A Changing Places facility, for example, has a distinct specification and requires substantially more space and equipment than a standard accessible WC. It will not be appropriate for every site, but it should be assessed where the building type, visitor profile or planning conditions indicate a need.
Select materials for the environment, not the brochure
Material choice has a direct effect on lifecycle cost. A finish that looks suitable on day one may be difficult to clean, prone to edge damage or unsuitable for persistent moisture. Match the panel material, edging, ironmongery and fixing method to the actual conditions.
Melamine-faced board can provide a cost-effective option for lower-risk, dry commercial settings when specified and maintained correctly. Compact grade laminate is often a stronger choice for high-traffic, humid or wet environments such as schools, leisure centres and changing areas. Its solid, water-resistant construction helps it cope with frequent cleaning and harder use, although it may carry a higher initial cost.
Wall protection should receive equal consideration. Washable wall cladding can reduce the number of grout lines and make cleaning simpler in splash-prone areas. IPS access panels create a neat finish around concealed pipework while allowing maintenance access, which is particularly useful where multiple sanitary fittings are served from a common duct.
Colours and finishes should support practical use. Very dark surfaces can show limescale and fingerprints; very pale finishes can reveal scuffs quickly. Mid-tone colours, textured finishes where appropriate and carefully chosen hardware can preserve a professional appearance between cleaning cycles. A coordinated palette across cubicles, vanity units and wall cladding also helps the finished space feel intentional rather than assembled from separate packages.
Specify for cleaning and maintenance access
Cleaning teams should not have to work around avoidable design problems. Floor-mounted partitions with tight gaps at the base can trap debris, while poorly placed pipework or exposed fixings can make surfaces harder to wipe down. Consider clearances beneath cubicles, flush detailing where practical and a layout that allows equipment to move through the room.
Durable fittings reduce reactive maintenance, but accessibility for repair matters too. Specify cubicle hardware that can be replaced without dismantling large sections of the installation. Ensure isolation valves, cisterns and services behind IPS panels remain accessible. In a busy public facility, a cubicle out of service for several days can have a disproportionate effect on capacity.
Ventilation is another maintenance issue as much as a comfort issue. Persistent condensation can shorten the life of finishes, encourage odours and create a poor impression of cleanliness. Extraction should be sized and controlled for the room’s likely use, with sufficient make-up air and a sensible commissioning plan.
Coordinate specification, manufacture and programme
The most effective public toilet design is one that can be manufactured, delivered and installed without late changes. Confirm site dimensions before manufacture, particularly in refurbishment projects where walls are rarely perfectly square. Record finished floor levels, service zones, ceiling constraints and any unusual openings.
A coordinated supplier package can simplify this stage. Toilet cubicles, IPS panels, vanity units, wall cladding, lockers and benching can be specified to work together, reducing the risk of mismatched finishes or conflicting dimensions. For more complex schemes, 3D CAD support can help the project team review cubicle runs, access panels and circulation before products reach site.
Lead time should be discussed early, not when the programme is already under pressure. Standard ranges and flat-pack options can suit urgent installations, while bespoke sizes, printed panels or specialist finishes may need more allowance. The right route depends on the project deadline and the level of customisation required.
A washroom that performs after handover
A successful public toilet is judged long after practical completion. Users notice whether the room feels private, clean and easy to navigate. Facilities teams notice whether surfaces stand up to cleaning, replacement parts are available and access for maintenance is straightforward.
That is why good washroom design is less about adding features and more about resolving the practical details early. With a clear brief, appropriate materials, accessible planning and coordinated manufacturing, the finished space can remain reliable through years of everyday use.